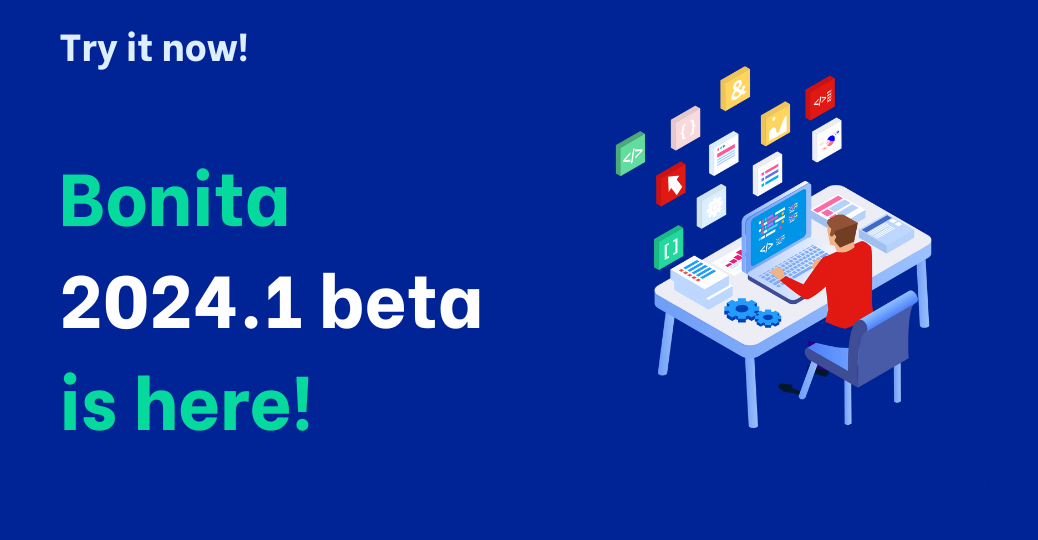
Our new major release of Bonita 2024.1 is arriving in a few weeks with new capabilities!
Do you want to try them out? It is the perfect time to test the beta version!
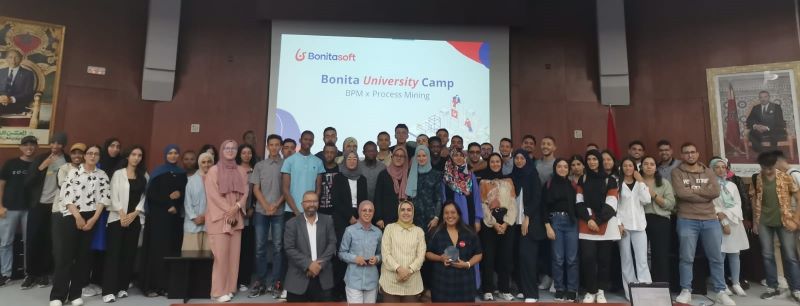
As part of our University Program, we were invited by Professor Hanae SBAI to the FSTM (Faculté des Sciences et Techniques de Mohammedia ) in Morocco to talk about digital transformation and how it can be achieved with the help of BPM and process mining...